Teaching story elements is one of my favorite parts of early literacy.
It’s where students begin to understand what stories are made of — and how they work.
Over the years, I’ve refined a few simple strategies that make this concept stick, no matter which book we’re reading.
Here are 4 ways I help my K–2 students understand characters, setting, problem, and solution — with visuals, structure, and just the right amount of creativity.
WAY 1: Start with a Visual Anchor
Explain:
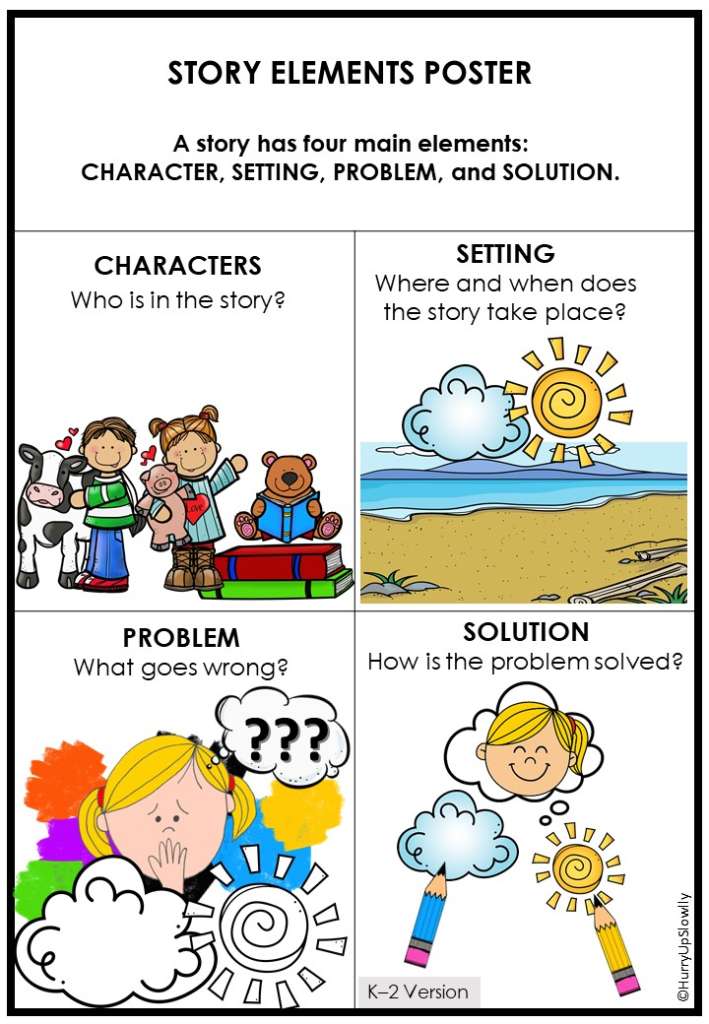
I introduce the four elements — characters, setting, problem, solution — using a clear classroom poster that stays visible all year long.
Mention resource:
I use a version of this [Story Elements Poster] that’s simple, colorful, and student-friendly.
WAY 2: Connect to a Favorite Read-Aloud
Explain:
Every time we read a new story, I ask the same four questions:
– Who are the characters?
– Where and when does it happen?
– What goes wrong?
– How is it solved?
Pro tip:
Keep these four as sentence stems on the board or chart paper. Repetition builds confidence.
WAY 3: Use Simple Graphic Organizers
Explain:
After the discussion, students complete a visual response: drawing, labeling, or writing.
Resource link:
I created these [Reading Comprehension Graphic Organizers for Any Book] so students can show understanding in different ways — even if they’re still emerging writers.

WAY 4: Give Students Choice (Book Pick Page!)
Explain:
As a bonus activity, students love picking their own book and applying the same questions to a familiar story.
Link again to bonus page
That’s why I include a “Pick a Book!” page in my organizer set — it’s perfect for early finishers or centers.
Conclusion / Call to Action:
Teaching story elements doesn’t have to be complicated.
With a few consistent tools, even the youngest readers begin to see patterns in stories — and that’s when comprehension starts to click.
Want to try it out?
Grab the FREE Story Elements Poster here — and check out the full set of graphic organizers in my TpT store!